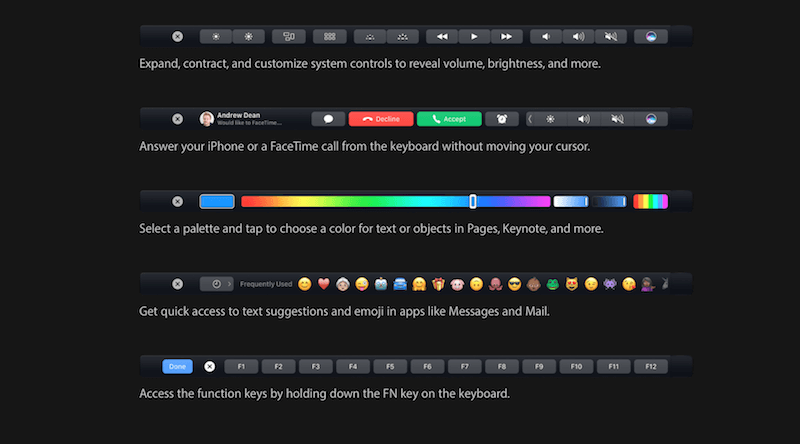
Not every day Apple invents a new method of interacting with a computer. The latest invention of this kind was the multi-touch display iPhone. Currently, Apple has introduced a thin strip OLED of the display above the keyboard of the new MacBook Pro, which is called the Touch Bar. The already famous menu bar containing a set of 'hot keys'. It fits well with the definition of another invention. It's a shame that you can't try this invention in action without spending a large sum of $ 1799.

Well, if you want to figure out what everyone is so loud about, the best you can think of is simulating the presence of the Touch Bar on your Mac. And if you just want to 'touch' the Touch Bar, then you can try to do it on your iPad. Thanks to the project developers on GitHub and some advanced sites built to upload the mock to iPad this is actually possible. Below is a description of how to do this.
How to install and try the software Touch Bar on any Mac 
Installing software that has the Touch Bar 'always on screen' effect on a Mac is actually relatively straightforward compared to installing on iPad.
Step 1: First of all, you need to install a different version of the updated macOS Sierra 10.12.1 (build 16B2657). The update file can be downloaded from this link (Size – 1.3 GB). Currently, this file cannot be downloaded from App Store using the update procedure. After the file has finished downloading, go through the software installation procedure.
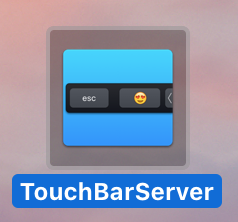
Step 2: Next, we need to download the Touch Bar Demo app. You need to click on the GitHub link and download the latest version of “TouchBarServer.zip”
Step 3: After the download is complete, the file will look like a program file. Move this file to the Applications folder. 
Step 4: Run the program. Since this is a third party program, you will need to ignore the security warning from Apple. If your computer does not allow you to run applications from third-party developers, then you need to go to the 'Security and Privacy' section of System Preferences, and allow the installation of programs from any sources.
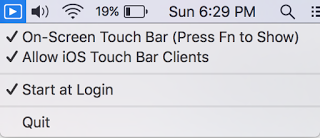
Step 5: After starting the program, the utility icon will appear in the menu bar. This utility is activated quite simply – in combination with pressing the “fn” key (the key is located in the lower left corner of the keyboard). When you press this key, at the location of the cursor, a set of Touch Bar commands will appear. 
The command set will depend on the application you are currently using. Currently, the utility supports a set of commands for applications Apple such as Safari, Preview and others. 
How to try Touch Bar on iPad
To try this utility on iPad, you will need to download the program from a dedicated site using Xcode. This is something. To use the proposed method, read the instructions from the developers here.
There is a more simplified method, thanks to the precompiled Xcode file.
Note: The app will need to be installed every 7 days if you do not have a developer account Apple. We assume that you only want to see the simulator's Touch Bar in action and do not plan to use this program on an ongoing basis. In this case, the suggested installation method will suffice.
Step 1: Download the 'TouchBarClient.ipa' file from here.
Step 2: Then download and install the 'Cydia Impactor' file from here.
Step 3: Run the 'Impactor' program and connect your iPad. The name iPad should appear in the device list.
Step 4: Drag the downloaded file to the top of the section called 'SuperSU'.
Step 5: Enter your account details Apple ID to sign the application.
Step 6: The application should now be ready to run. Make sure the 'Allow iOS Touch Bar Clients' option in the menu bar is checked.
Imitation as another invention
The work process is imitated, but it really works. Thus, you can understand how the control works, how the functionality changes depending on the application used, and how the predictive text and emoticon feature works in iOS.
And on that note, the question is – have you decided to buy a new MacBook Pro with Touch Bar? Share your opinions in the comments below.
