Installing a proprietary OS from a company Apple, known as mac OS on personal computers created for systems Windows, is always fraught with many difficulties and nuances. This operation requires some technical knowledge of the installer, but in most cases, and the process fails. How to protect yourself from such a failure, and what you need to consider, we will talk in this review.

So, if you are one of those who nevertheless decided to install a completely new operating system macOS, known as Sierra, from the company Apple on your PC, then we recommend that you first pay attention to the products of the tonymacx86 programmers laboratory. It was they who created the utilities capable of porting the proprietary OS from Apple to “traditional” personal computers developed for systems from Microsoft. The universal installation utility UniBeast will allow you to easily install macOS Sierra on your home or work Windows PC.
With the help of the instructions below, and consisting of a series of consecutive steps, you will be able to independently install macOS Sierra on your personal computer in the simplest way for you.
Things to consider:
- The macOS Sierra image burned to disk.
- The most recent version of the UniBeast utility, as well as its auxiliary version – MultiBeast.
- USB stick, at least 8 GB.
- Desktop PC or laptop with a computing processor from the company (only!) Intel.
Step-by-step description of installing macOS Sierra OS on Windows – PC:

Step 1: First of all, download the disk image of the future macOS Sierra system. It can be found on trackers or in the official App Store.
Step 2: Next, download the latest version of the UniBeast utility from the developer's site known as tonymacx86.
Step 3: After downloading the installation files of the macOS disk image and the UniBeast program, then create an image of the bootable USB flash drive. It is what you need to create using the downloaded program UniBeast. We launch the program for Mac.
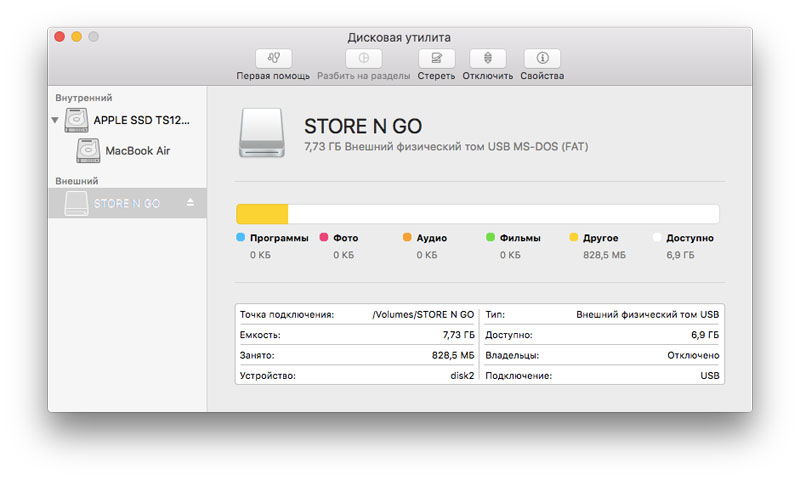
Step 4: In the panel on the left, select the desired USB drive and click Erase (Erase). This button is on the top panel. The bootable USB flash drive with which we are working must be renamed to SierraInstaller (any name in Latin is also suitable, as long as it does not contain spaces). You also need to make sure that the correct file format has been selected, namely OS X Extended (Journaled). Click again on Erase.
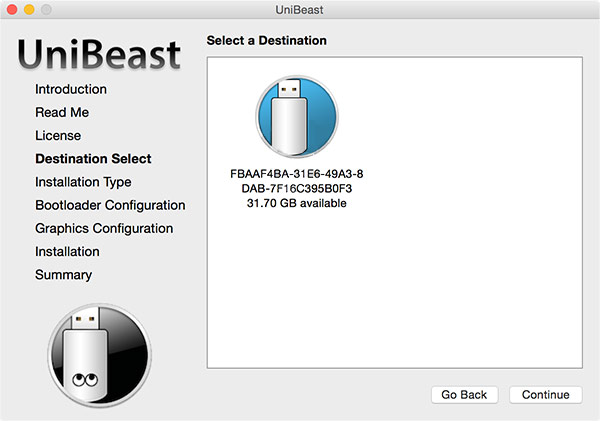
Step 5: Launch UniBeast again, which we downloaded in the second step. Skip the first menus, click Continue and agree where you need to select Agree. In the Destination Select menu, select a working USB drive and click Continue.
Sometimes, the program gives an error at this stage. Therefore, make sure that the executable file is named “Install macOS Sierra” (it was downloaded in step 1), has already been moved to the program folder (directory).
Step 6: In the Select OS Installation menu, check if the Sierra item is selected in the settings and then click on to continue.
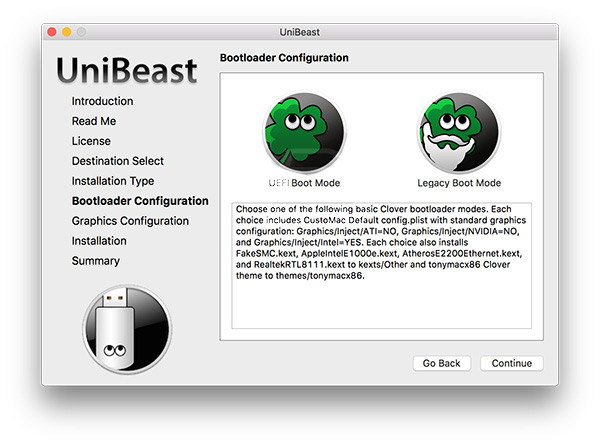
Step 7: Follows the Bootloader Configuration menu. In case you have an older processor system (Socket 1156) please select Legacy USB Support boot type. Click Continue.
Step 8: You don't have to go to the Graphics Configuration menu, as it is optional. Optionally, you can select acceptable graphics for best performance.
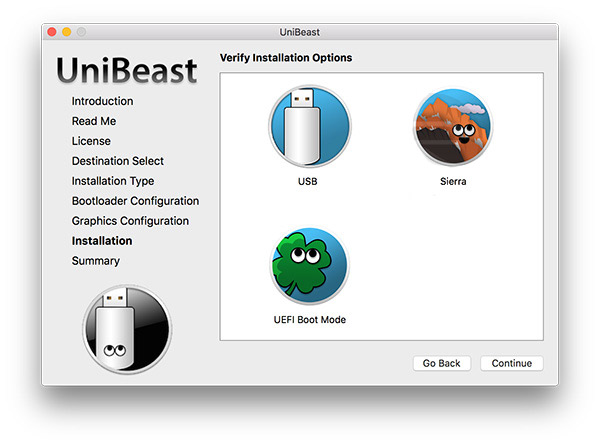
Step 9: Enter the new admin password (if necessary) and finally click Install. Now it all depends on the performance of the PC, as well as the speed of data transfer via USB. On average, it takes up to half an hour.
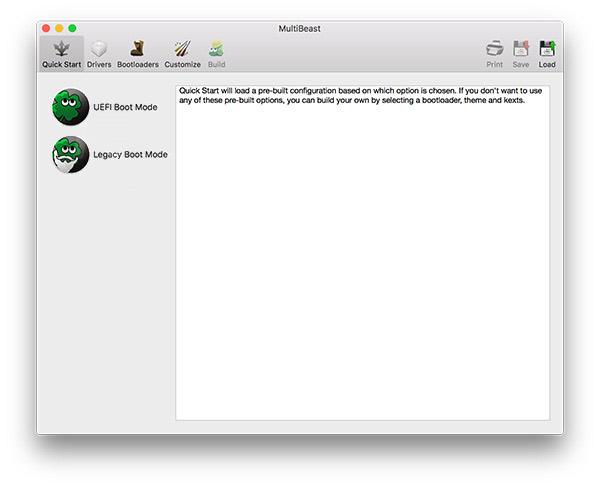
Step 10: Next, launch another program that needs to be downloaded. It is called MultiBeast for Sierra (on the site of the same manufacturer UniBeast). Then we move the downloaded MultiBeast program to the USB drive used for the image.
Step 11: After that, installing an Apple OS will be very similar to installing a traditional Windows OS. We connect the drive with the macOS image to the USB port of the PC and start the step-by-step installation of the system. First, go to B IOS and select the appropriate drive.
Step 12: Restart your computer again after exiting B IOS. When the startup boot screen appears, select the Boot option Mac OS.
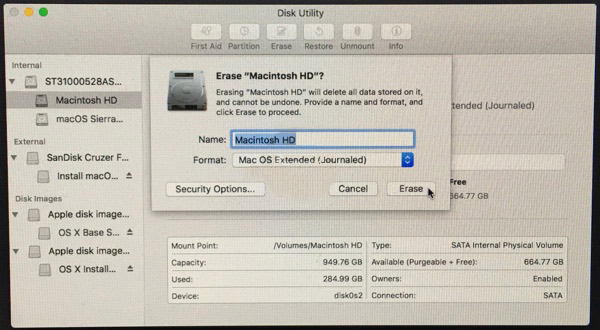
Step 13: Also in the menu of this screen, select our USB flash drive and press the Enter key to continue. Format the disk using the macOS installer. Further, in the menu bar at the top, go to the Utilities section and here we select the Disk utility sub-item.
- Select the drive on the left. Click Erase.
- Toggle the Partition Scheme checkbox, click the OK button.
- Rename the disk to Macintosh HD, select OS X Extended again.
- Confirm the specified changes by clicking on erasing with the Erase command.
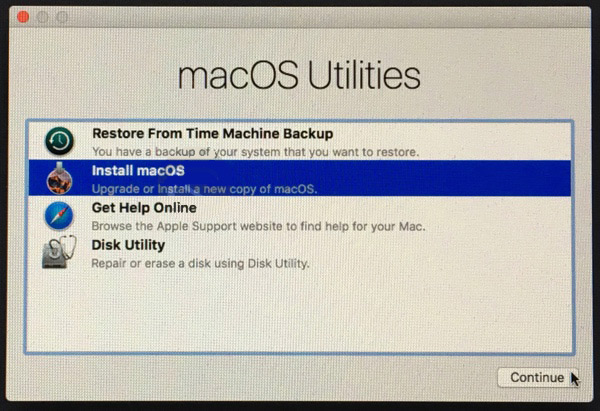
Step 14: When all the installation processes are complete, close the Disk Utility menu and return to the installer. Here we specify Macintosh HD so that you can install Sierra later. We follow the standard procedure for installing the operating system.
Step 15: Once the installation is complete, the computer will automatically restart. When it turns on, open the boot menu.
Step 16: Select the USB section and also Sierra and complete the macOS Sierra installation process.
Step 17: At the last step, you should see the desktop of the newly installed macOS Sierra. Using the same MultiBeast utility, we install all the necessary drivers for Wi-Fi, audio, graphics, etc.
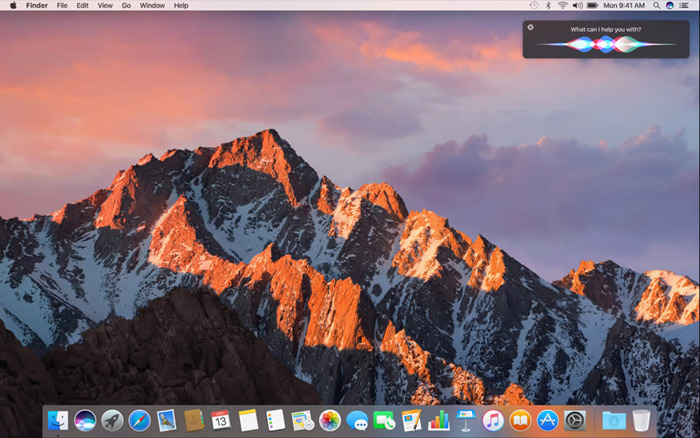
That's all! Now you are a user of an excellent and efficient hackintosh, with whom you can work on a project of any complexity, or simply use this OS as something familiar, with which you will be comfortable working for many years.