Sometimes you want to boast at the expense of photos that you were vacationing on an exotic island or an expensive resort. We cannot judge you for this. And sometimes you just want to play a trick on your friends and fake the location of the pictures, for example, in Instagram.
Or imagine this situation: you have a lot of great photos from where you actually were, but because of the photo editor, the location of the photos is lost. In this case, you should not worry. You can change the geolocation data of photos to iPhone, and below we will tell you how.
Applications
We tested several apps including Mappr, Photo Investigator and Metapho, but the best of them is MAPic. Other apps are pretty good too, so you can try them too. However, in MAPic, changing geolocation data is as easy as shelling pears. And below we will explain how to use it.
How to change location in MAPic
To get started, download MAPic for free from App Store and open the app.
1) Select a photo (you can select several at once) from one of the albums in the Photos application.
2) Click Next in the upper right corner.
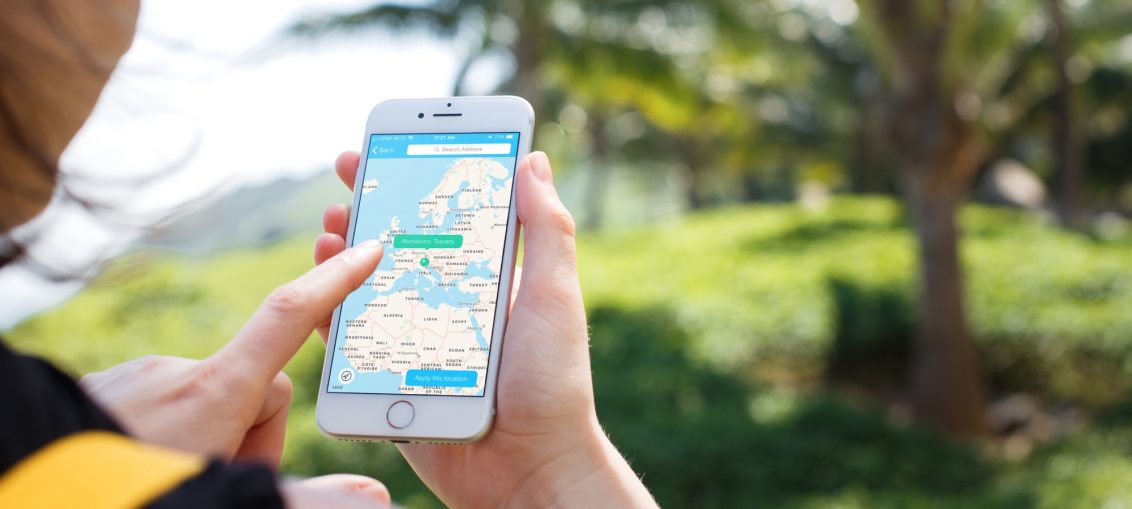
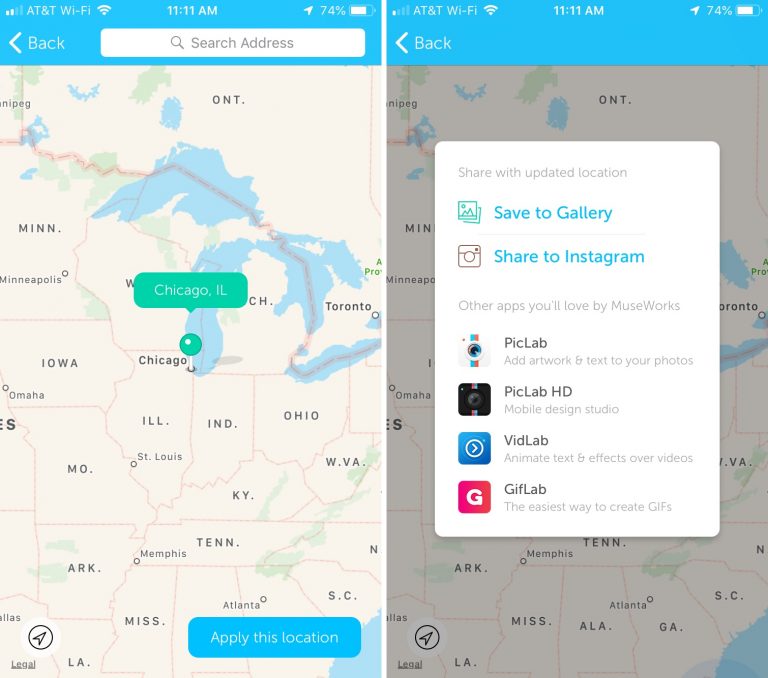
3) Select the location you want to link to the snapshot or snapshots. This can be done manually by entering the location in the search bar, or on the map. By clicking on the button in the lower left corner, you can bind the current location.
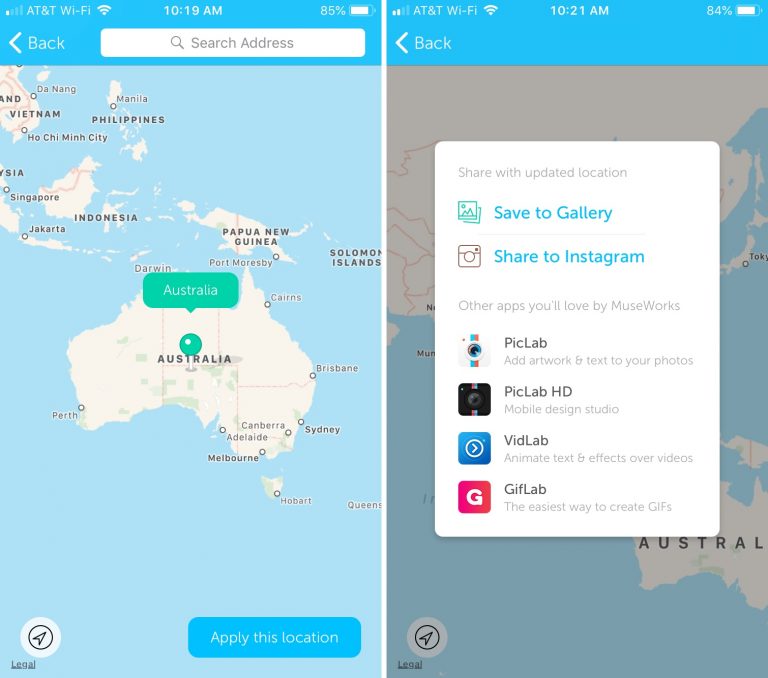
4) Click Apply this location.
5) Now you can save the result to Photos or immediately share it to Instagram.
You can read about how to view the geolocation of images on iPhone in this article.

There are many different reasons to want to change the location of your photos, but in any case, it is very easy and quick to do it.