If you still haven't enabled Two-Factor Authentication for your account Apple, we strongly recommend that you do it as soon as possible.
Let's clarify right away that Two-Factor Authentication is different from Two-Step Verification. The second is older and less protected.
If you have 2FA (Two-Factor Authentication) disabled, then anyone with the password for your Apple ID can access your contacts, calendars, notes, emails and other personal information, as well as see your photos , files iCloud, etc.
Special questions Apple ID do not help either: nowadays even a regular user can hack your Apple ID in different ways.
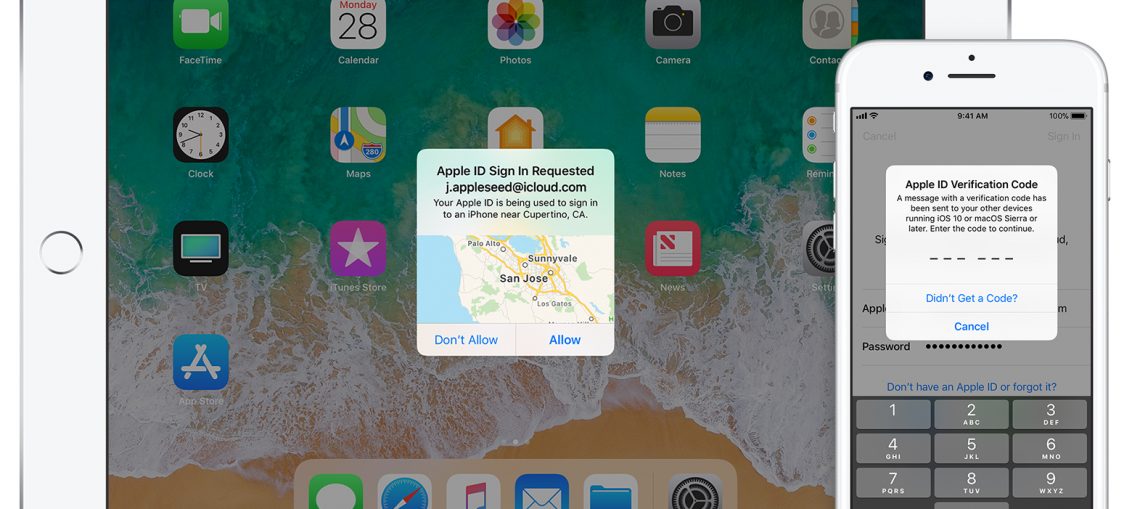
With 2FA, one username and password from Apple ID is not enough to access all of the above data, since each entry from a new device must be confirmed using a six-digit code that automatically appears on tested devices. By enabling 2FA, you can only access your Apple ID from verified devices. This feature greatly improves the security of your Apple ID and personal information.
You can enable 2FA in iOS 10.3 and newer in Settings → [your name] → Password and security → Two-factor authentication or in Settings → iCloud → your Apple ID → Password and security → Two-factor authentication if your version is older iOS 10.2.
You may need to answer your own question Apple ID.
After enabling 2FA, you will have to enter your Apple ID, password and confirmation code each time you log into iCloud and other services Apple using a new device or browser.
But what if you've lost access to all of your trusted devices? Can't log into your Apple ID anymore? No. You can also confirm 2FA using a code sent to a verified phone number. You can get the code through a message or phone call.
When setting up 2FA, you must enter at least one verified number. Moreover, multiple numbers can be added. This will help you in case you lose access to your trusted devices.
We advise you to use your home phone number, a friend's or family's number. Later you can use it when it will not be possible to access your devices.
How to add a verified number for two-factor authentication
You can manage verified numbers and devices from the web page dedicated to Apple ID.
1) In your browser, go to the link: appleid.apple.com.
2) Log in to your Apple ID.
3) In the Security section, click Change.
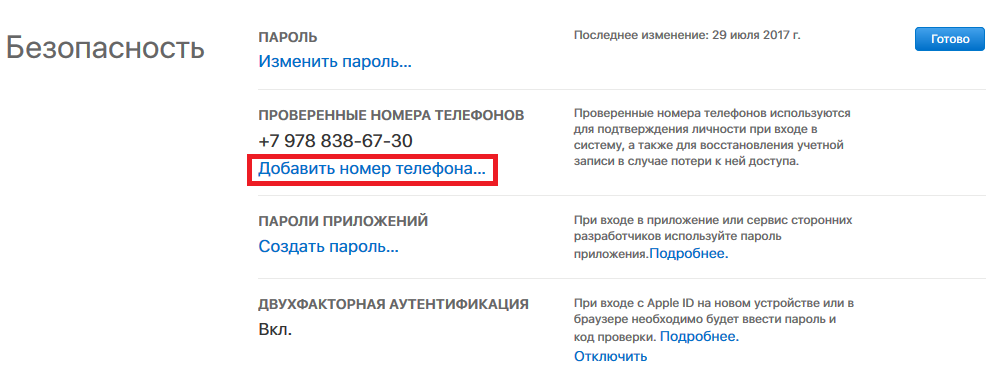
4) Click Add Phone Number….
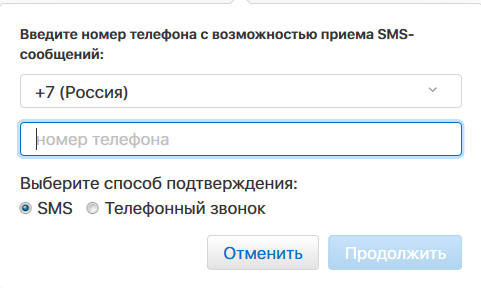
5) Select your country on the pop-up window.
6) Enter the phone number you would like to use for 2FA.
You do not need to enter the country code because you have already selected it, i.e. No need to enter '+7'.
7) Select the confirmation method: SMS or Phone call.
8) Click Continue.
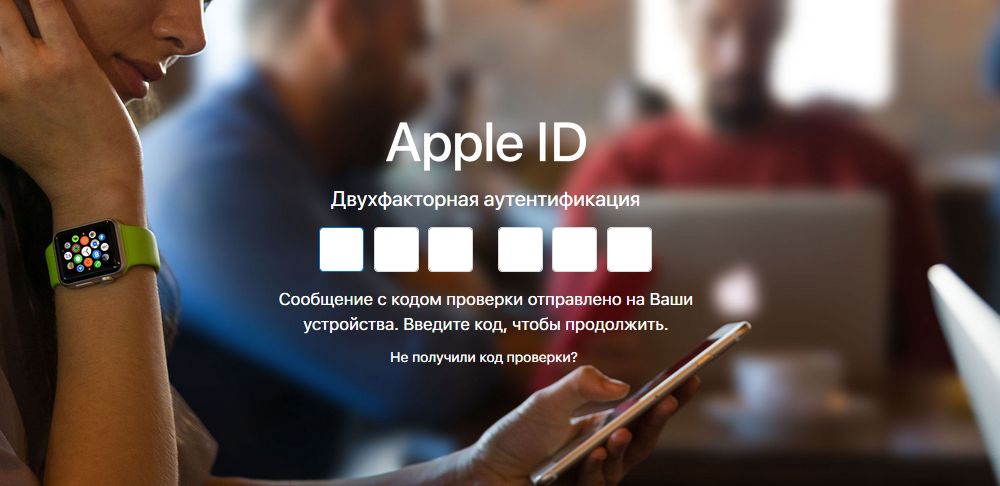
9) Enter the received six-digit confirmation code.
10) After that, click Done in the upper right corner of the Security section to save the settings.
Note: Verified numbers can also be deleted. To do this, simply click on the 'x' next to the number you want to remove.
Two-factor authentication and SMS security
It is recommended to use confirmation via SMS or a phone call only if you cannot access your trusted devices, since this method is insecure. The message can be easily intercepted. SMS is the least secure verification method.